User account
Before you can start using RDP you have to create a new user account for your personal work.
A user account can be created by each indiviual by providing a company or institution email address. The responsible organization admin has to approve this new account before the user can log in again and start working on research projects.
Important
The domain of your email address (part after the @-symbol) has to be listed in one of the organizations in the portal. If this is not the case, you will receive an according error message upon registration. In such cases, please contact the portal support.
Create a new user account
To create a new user account navigate to the sign up page which you can find by clicking “SIGN IN” at the main naviation. You will be asked to accept storing cookies on your machine. Accept and this will lead you to the “Login-Page”. Hit “Register” below the login form to start a new account registration.
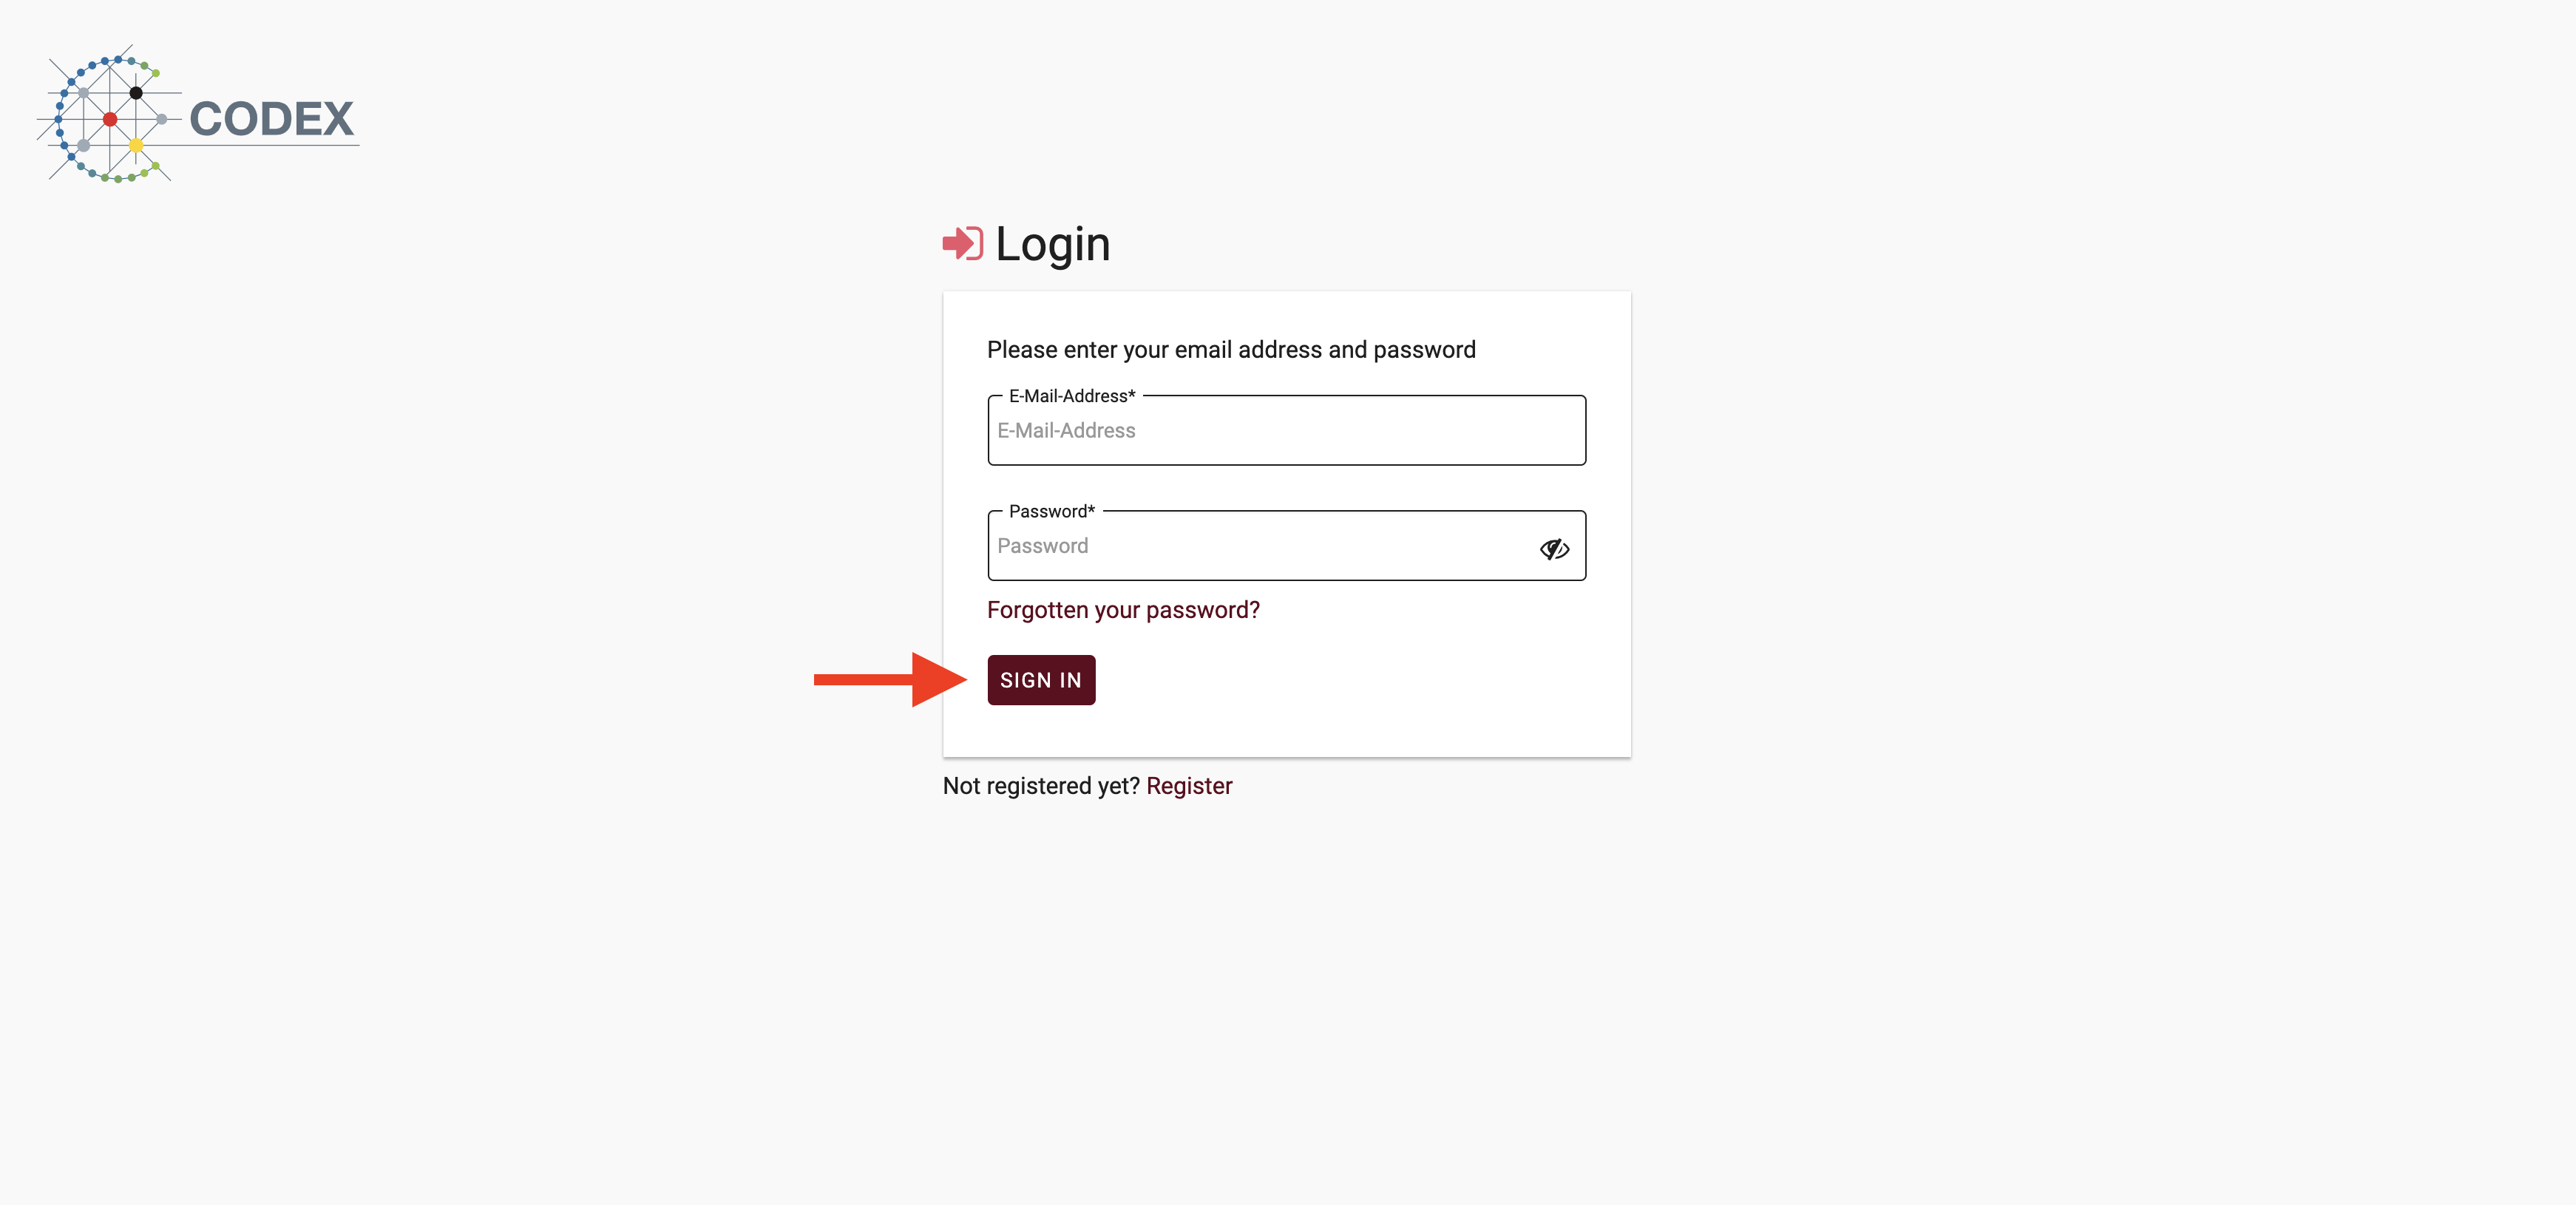
Fig 01-01: Position of the register link on Login page
At the Signup page you will see a form to enter your basic data. The project lead creates new projects, describes them, and manages them through the application process to project completion. He is responsible for defining the cohort and manages the researchers assigned to the project. Researchers retrieve research data from their assigned projects once the projects are approved and launched. Researchers have no influence on the project description, project application and cohort definition. All input fields marked with an asterisk are required to proceed.
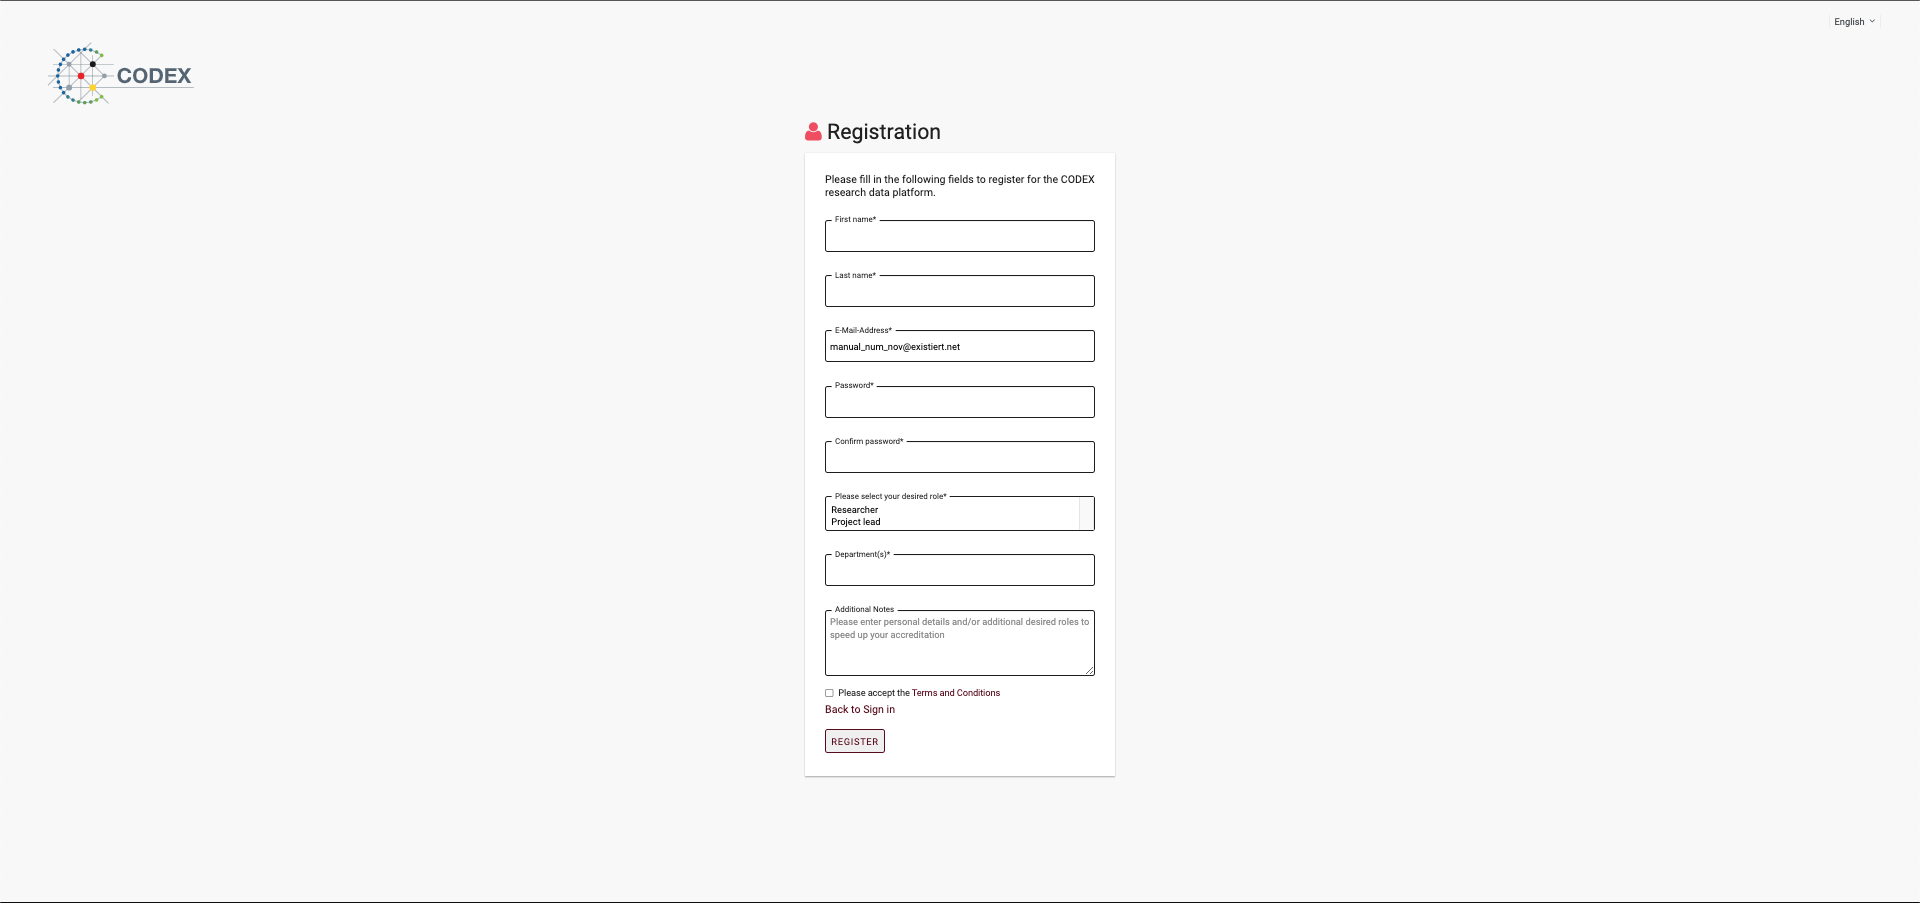
Fig 01-02: An emtpy Sign up form on initial page visit
Additionally you have to aggree with the terms and conditions. If you want to read the terms and conditions you can click the link which opens an overlay with the current version of our terms and conditions that you also can directly accept or decline.
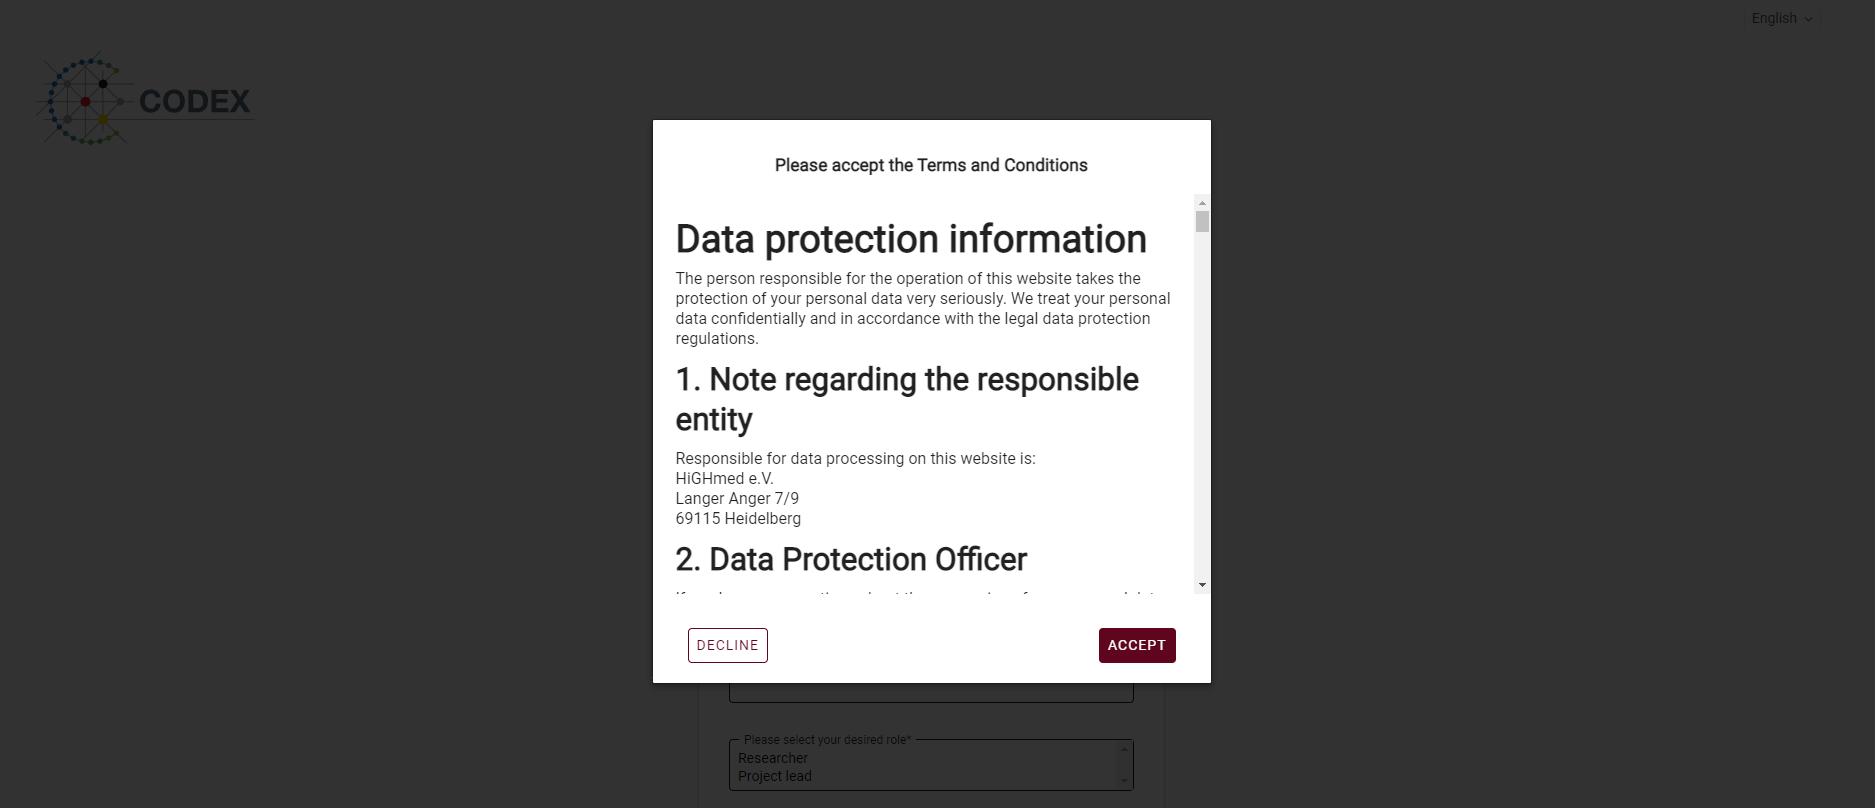
Fig 01-03: Open Terms and Conditions overlay modal
Once you have filled out all information about your person and your login information an email will be sent to your provided email address. If the email has been sent to your inbox you will see the following screen:
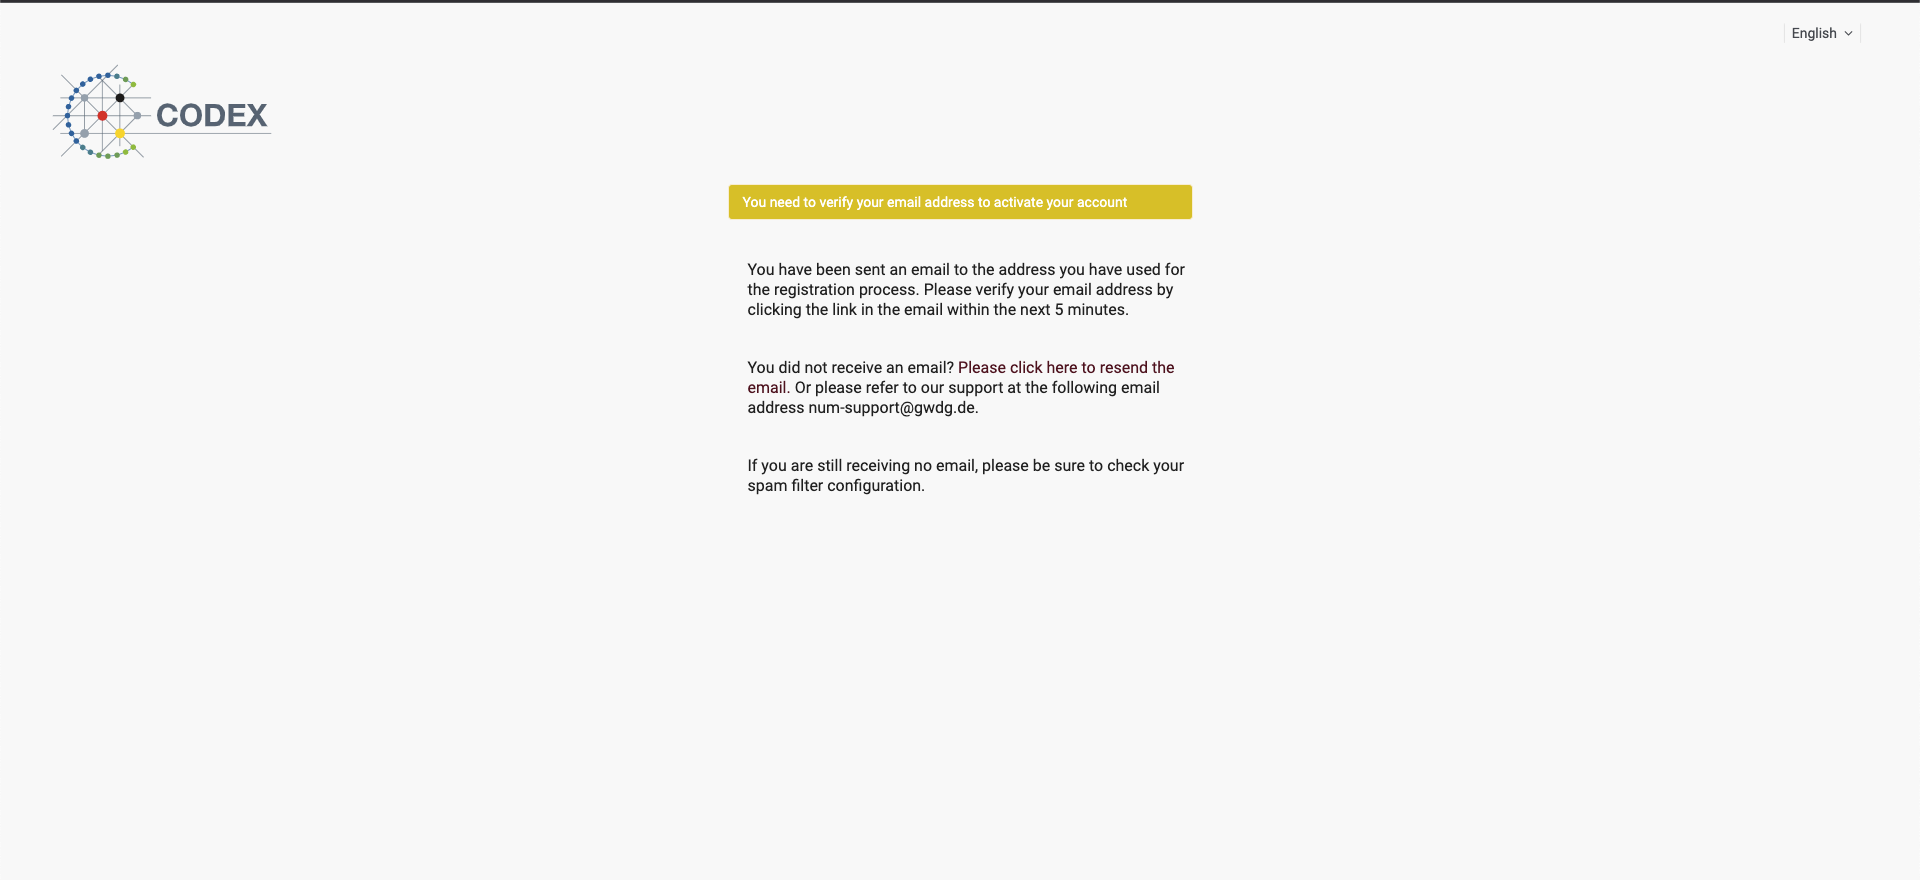
Fig 01-04: Hint on sent email to confirm registration
In the next step click the activation link in the email, that has been sent to you within 5 minutes to activate your account. If you do not get the email or manage to click the link within 5 minutes, you can always resend the email via the page shown above by clicking on the respective link. If you already closed the page, you can log into the portal with the credentials you provided in the registration process (email and password) to see the page again.
Important
After your successful registration you can only see the portals welcome page until your account gets approved. The organization administrator responsible for you is automatically informed via email about your registration. However, the approval is a manual process due to security reasons and therefore can take some time. If you want to see how to approve user accounts go to the section User management -> Unapproved users
Edit your user account
You can always access your user account at the bottom left.
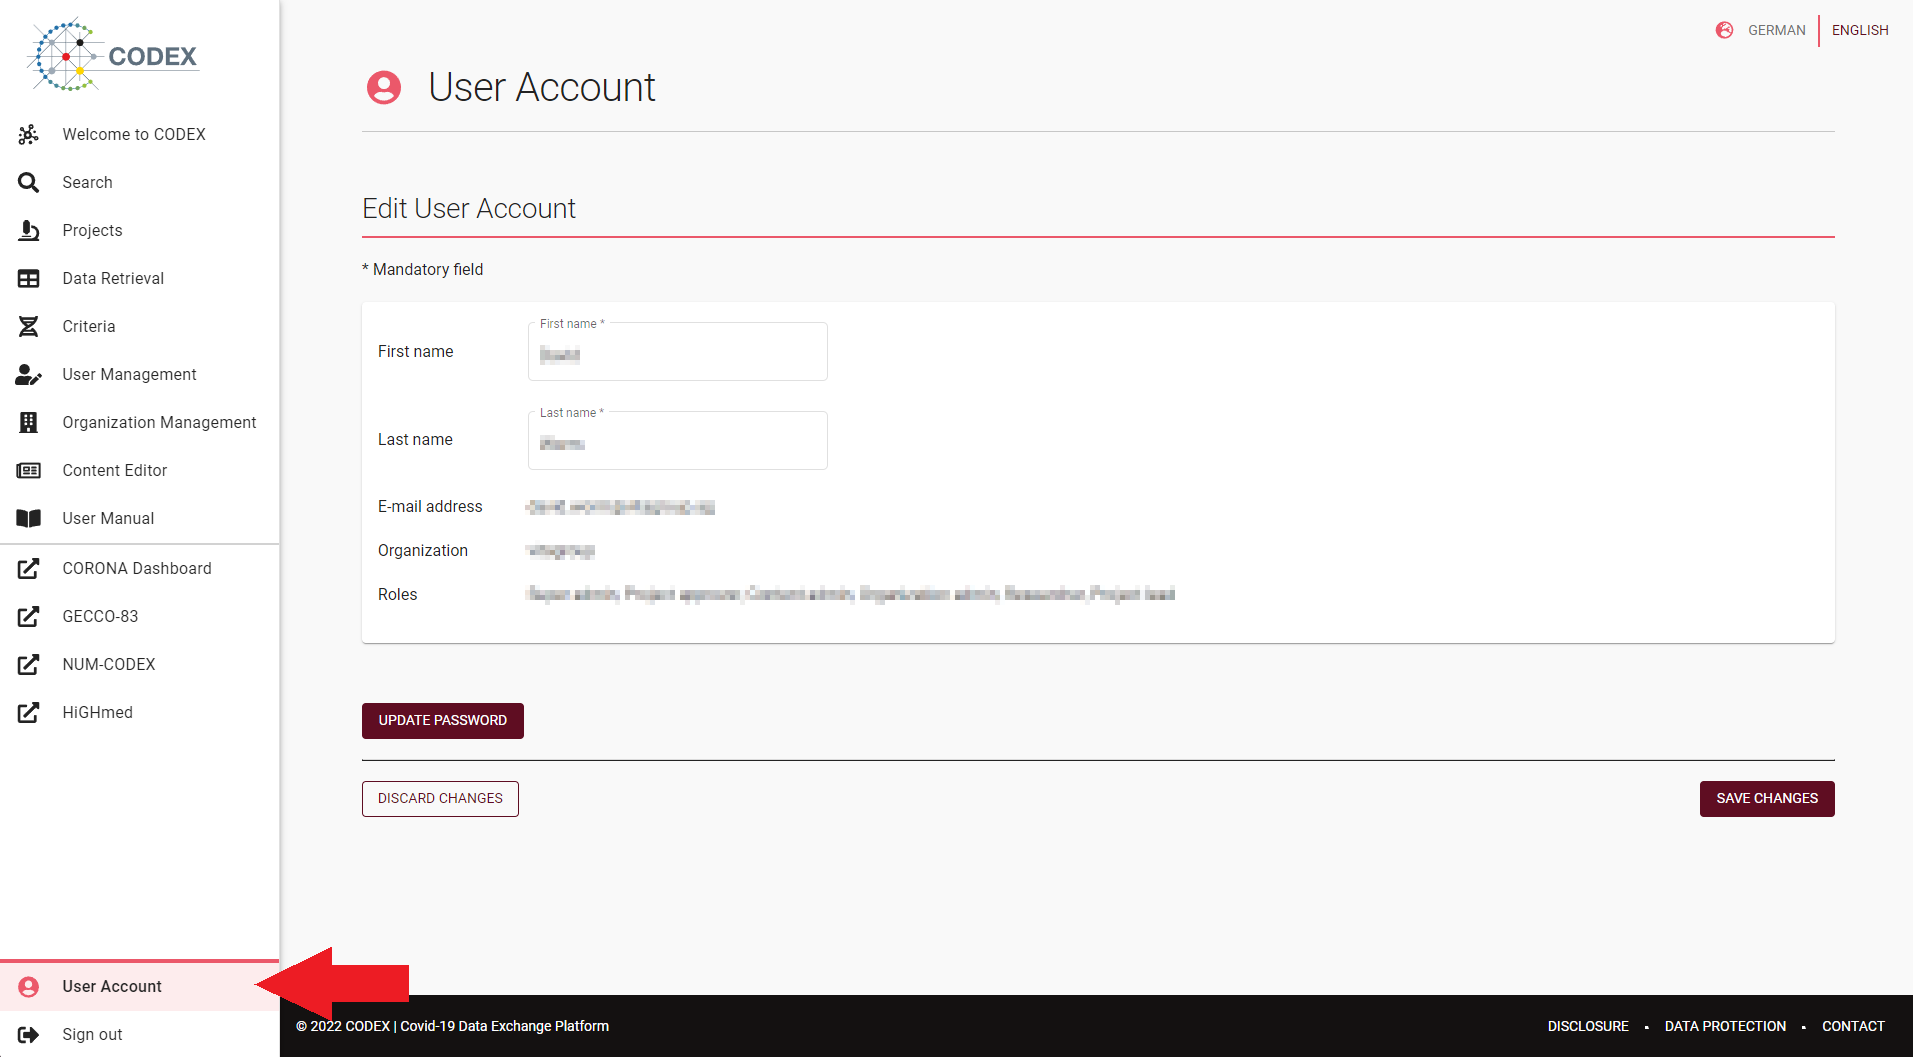
Fig 01-05: User account view
Within the user account page you can change your First name and your Last name, as well as the passwort by clicking on the “UPDATE PASSWORD” button. To save your updated credentials you need to click “SAVE CHANGES”.
Within this page you can see (but not change) your E-mail address, organization and current roles.