Projects Editor
This section covers the projects editor page of the projects module.
The project editor provides functionality to define a project. In order to create a project click Create project button in the Project overview. Saved projects have draft status and can be found in the project overview page.
Note
In the draft status the project can be previewed, edited or deleted.
Tip
In edit and preview mode, comments can be added to the project using the comments section at the bottom of the page.
There are four main sections of the project definition, these can be individually collapsed and expanded:
Cohort definition
General information
Parameter selection
Researchers selection
Note
A project can be saved as a draft or directly sent for approval.
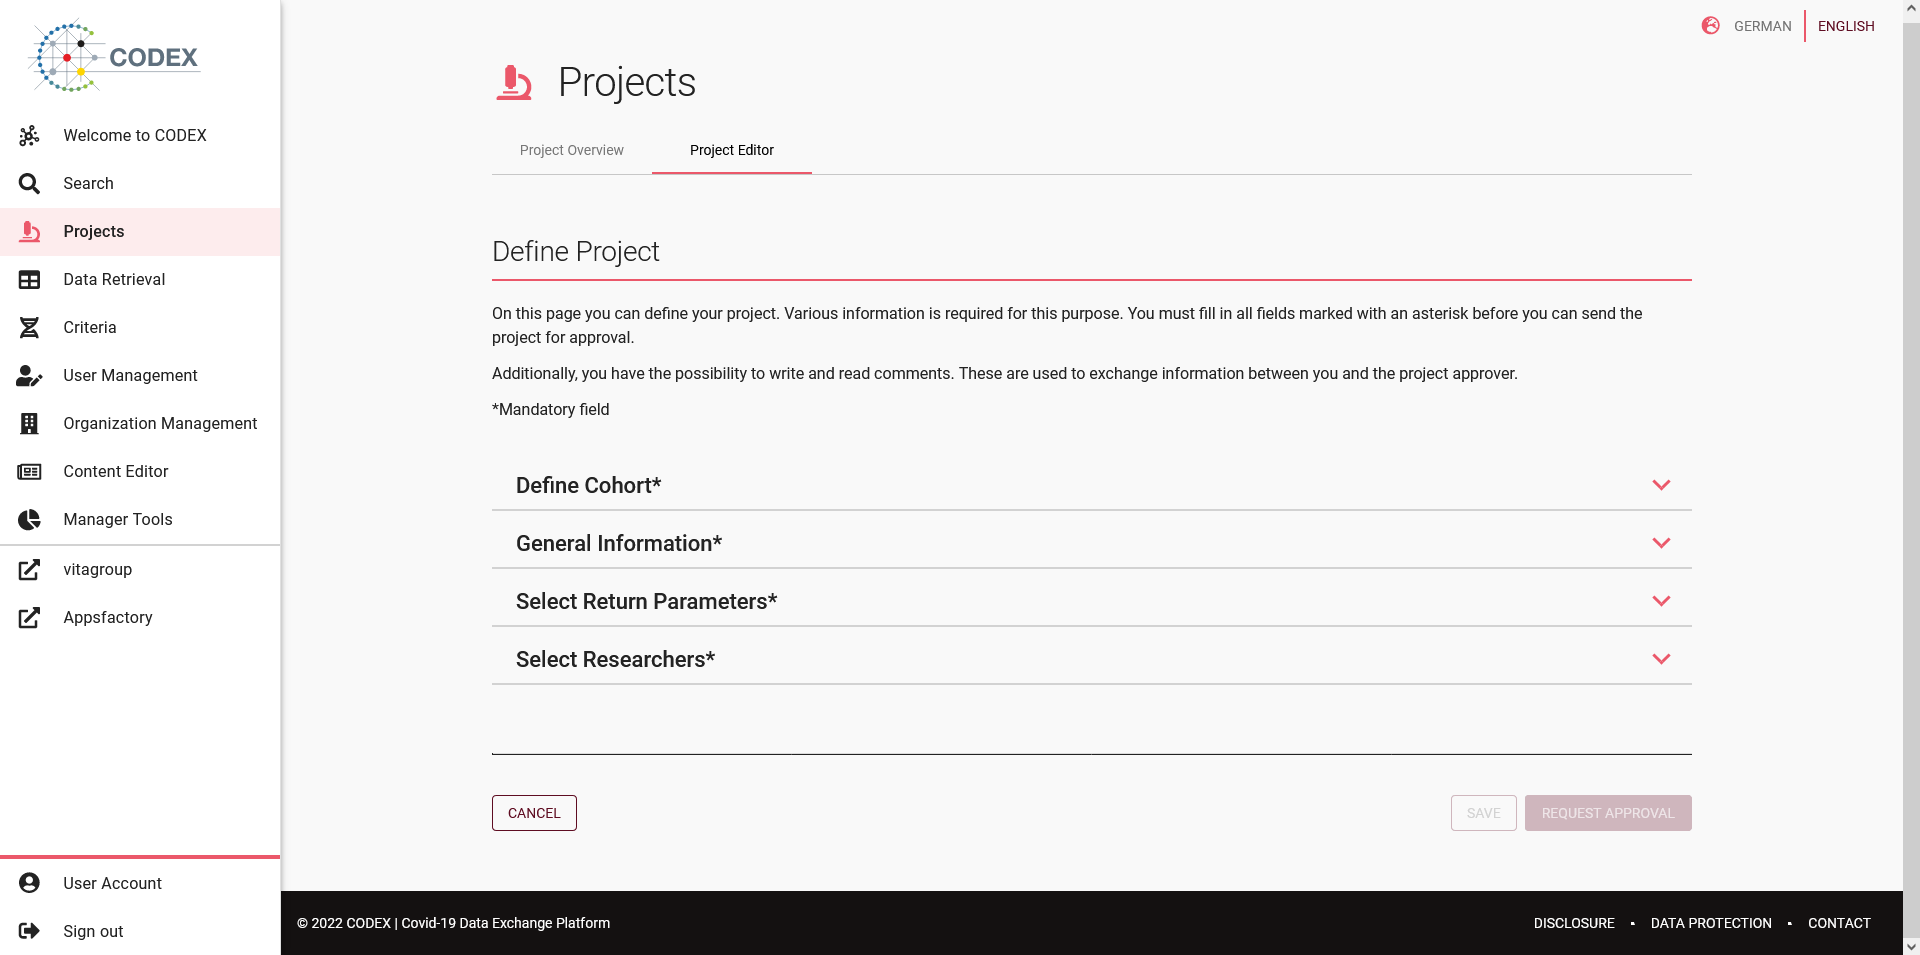
Fig 04-02-01: Project editor
Cohort definition
The cohort definition section is the most important section and represents the criteria that is to define the cohort of patients taking part in this project. Detailed information on how the search works can be found in the Search functionality documentation.
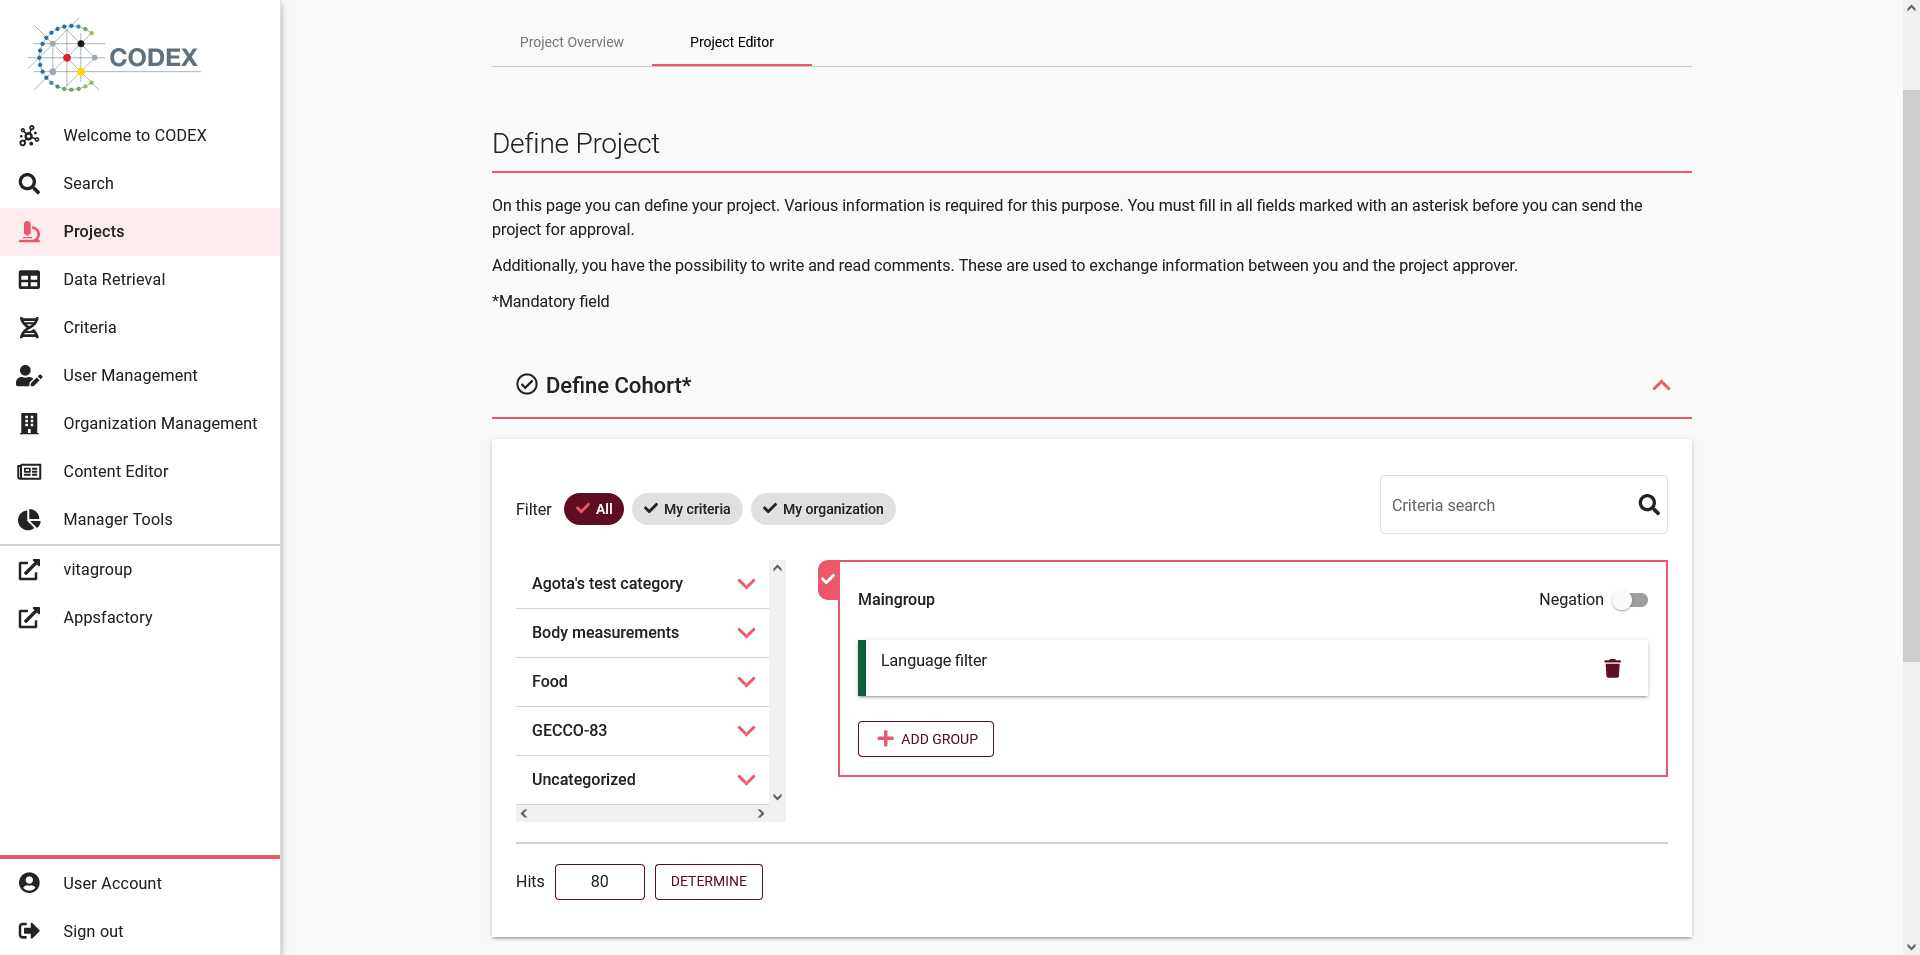
Fig 04-02-02: Cohort definition
General information
The general information section contains information about the project. A list of the available fields can be found in the table below.
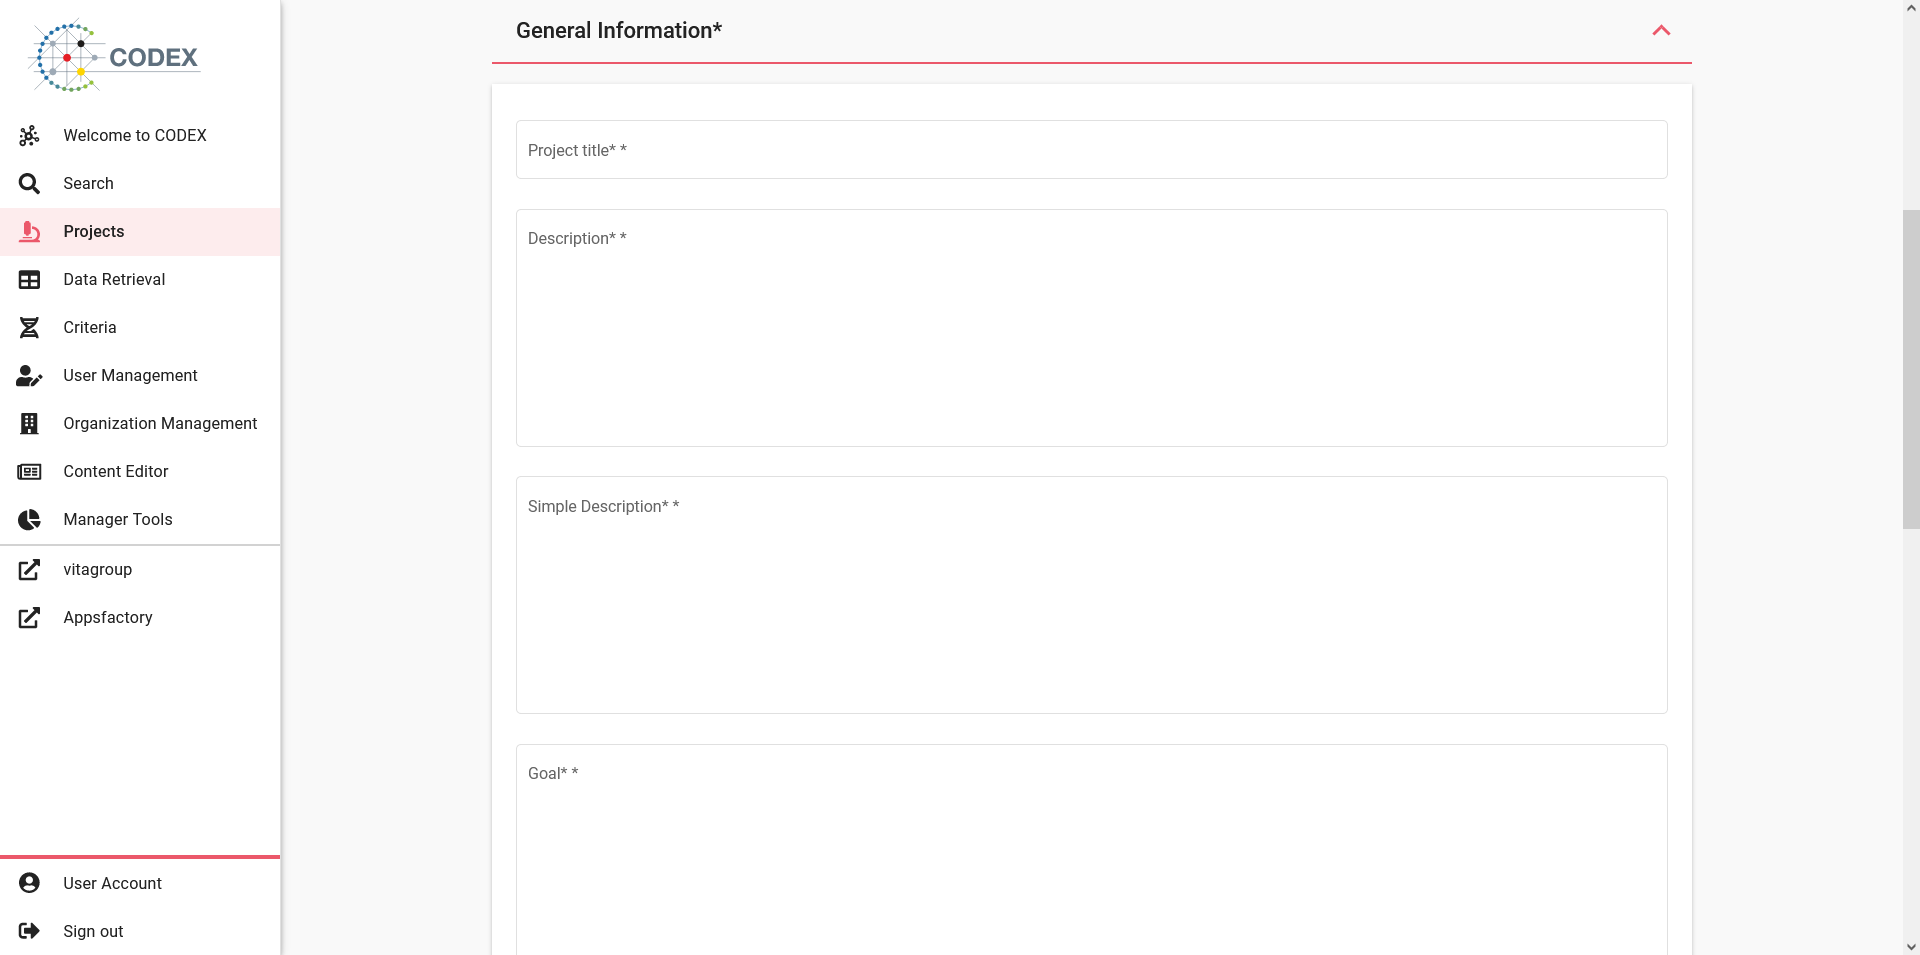
Fig 04-02-03: Project general information fields
No |
Field |
Mandatory |
|---|---|---|
1 |
Title |
Yes |
2 |
Description |
Yes |
3 |
Simple Description |
Yes |
4 |
Goal |
Yes |
5 |
Primary hypothesis |
Yes |
6 |
Secondary hypothesis |
No |
7 |
Keywords |
No |
8 |
Category |
No |
9 |
Start date |
Yes |
10 |
End date |
Yes |
11 |
Financing |
No |
12 |
Data protection level |
No |
There are 23 predefined project categories at the moment as listed in the table below.
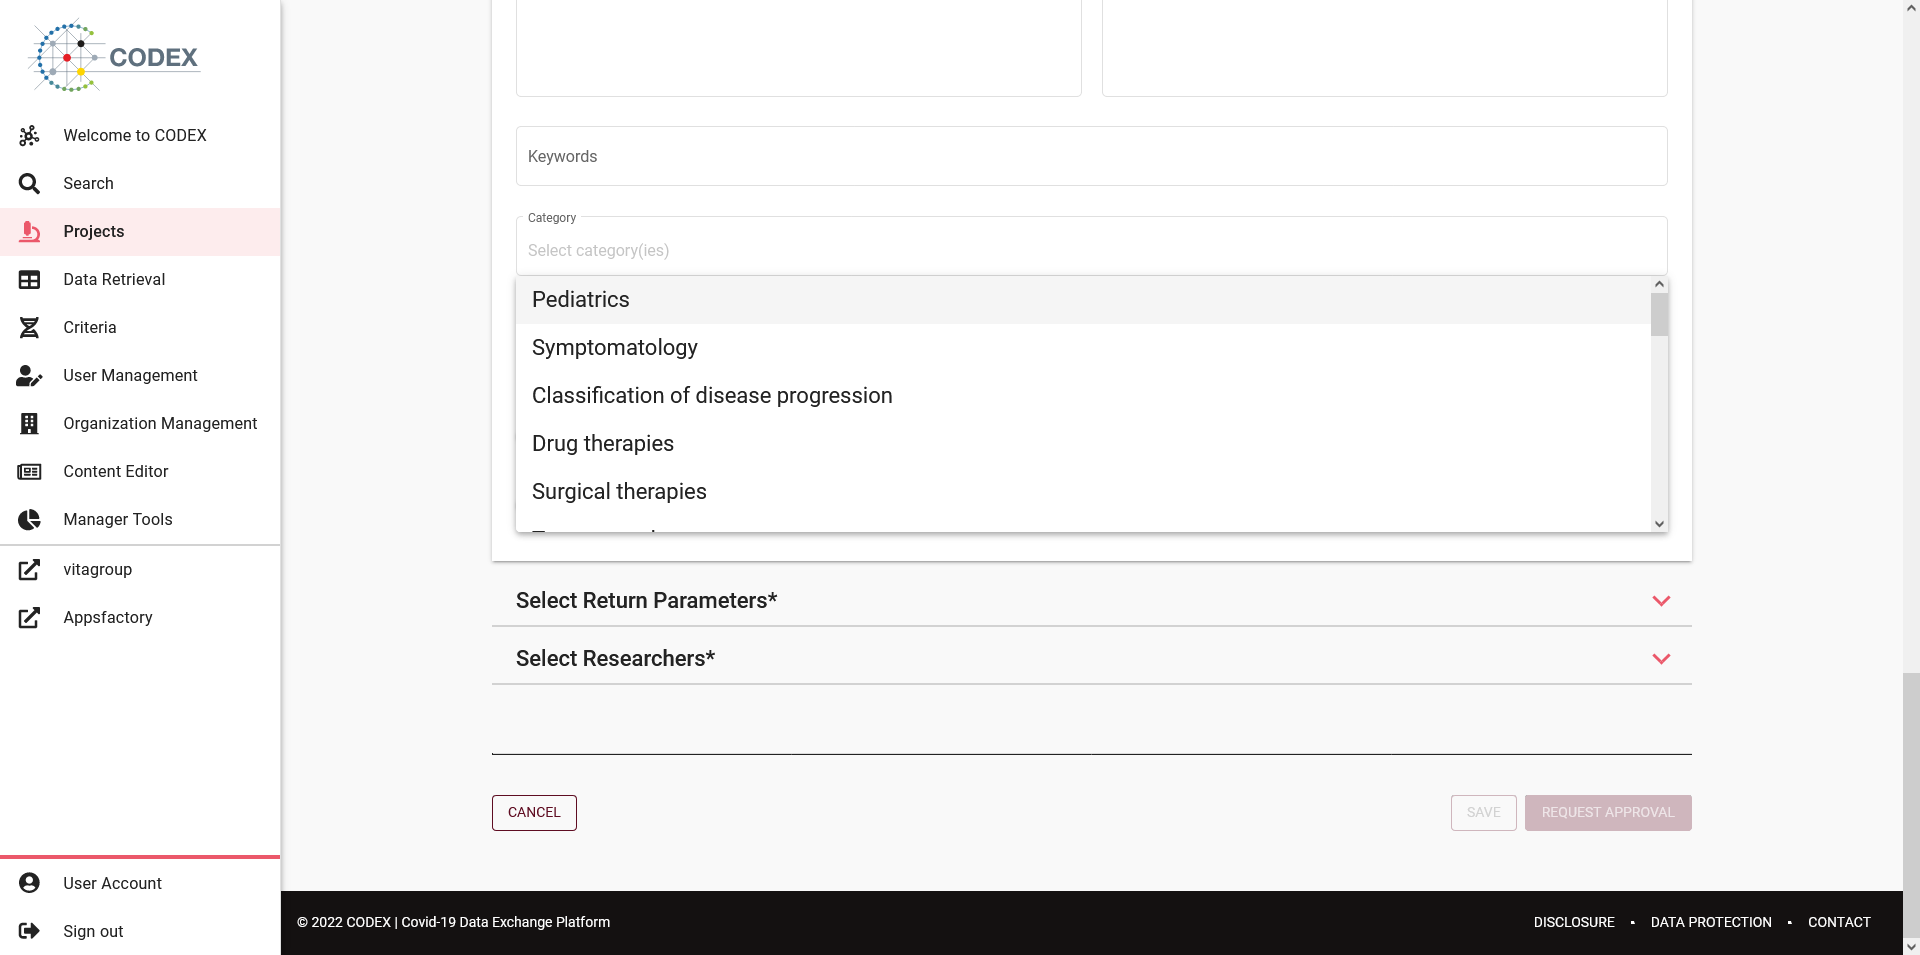
Fig 04-02-04: Project categories
No |
Field |
|---|---|
1 |
Pediatrics |
2 |
Symptomatology |
3 |
Classification of disease progression |
4 |
Drug therapies |
5 |
Surgical therapies |
6 |
Treatment plan |
7 |
Alternative therapies |
8 |
Prevention |
9 |
Diagnostic methodology |
10 |
Drug side effects |
11 |
Microbiology |
12 |
Pathology |
13 |
Oncology |
14 |
Rare diseases |
15 |
Decision support |
16 |
COVID-19 |
17 |
Critical care medicine |
18 |
Quality management MII |
19 |
Quality management routine care |
20 |
Longitudinal study |
21 |
Prospective study |
22 |
Retrospective study |
23 |
Registry |
Return parameters
Results can be further filtered by selection return parameters. To select the return parameters, click Add Return Parameter button.
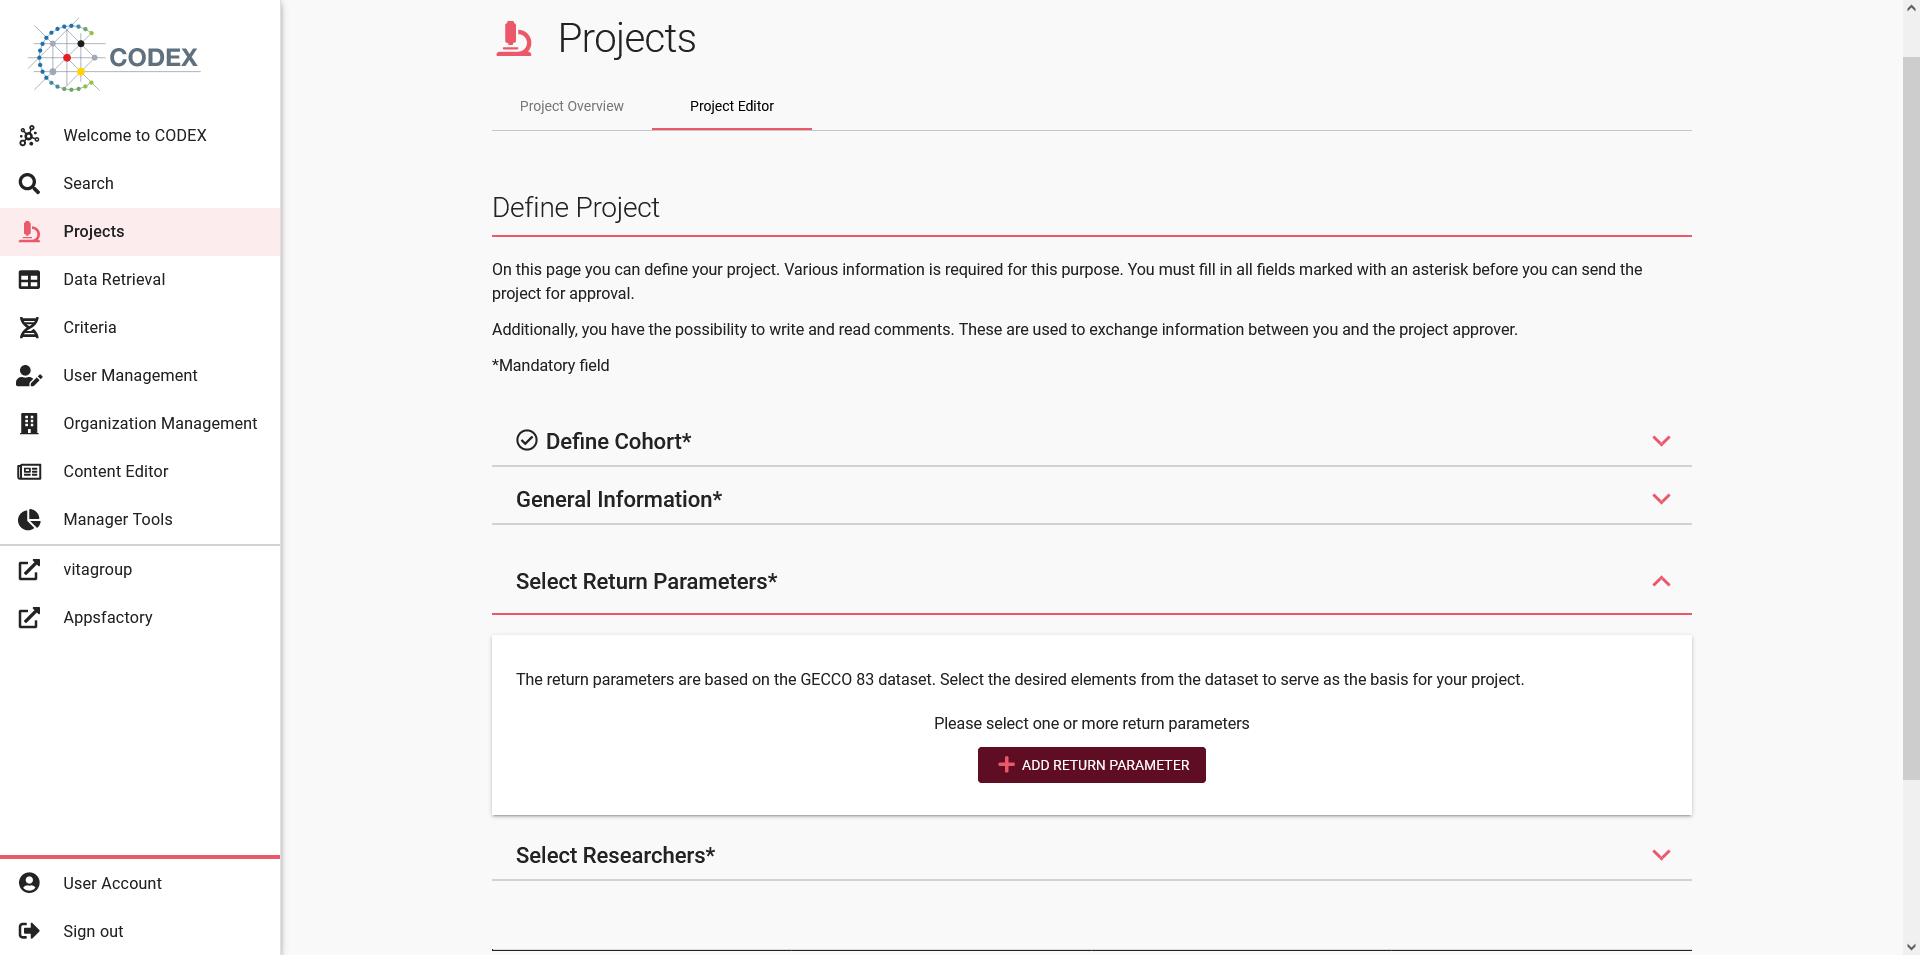
Fig 04-02-05: Project return prameters section
In order to select return parameters press Add return parameter. In the dialog you can select the desired return parameter(s) from a list. To do this, click on the respective plus symbol. As soon as a parameter is selected, the symbol changes to a tick. If you click the tick again, the symbol changes back to a plus and the return parameter is no longer selected. Above the list is a search box that you can use to search directly for parameters and narrow the list down accordingly.
As soon as you have selected one or more return parameters, you can add the parameters to the data filter by clicking on Apply selection button. The dialog window then closes automatically.
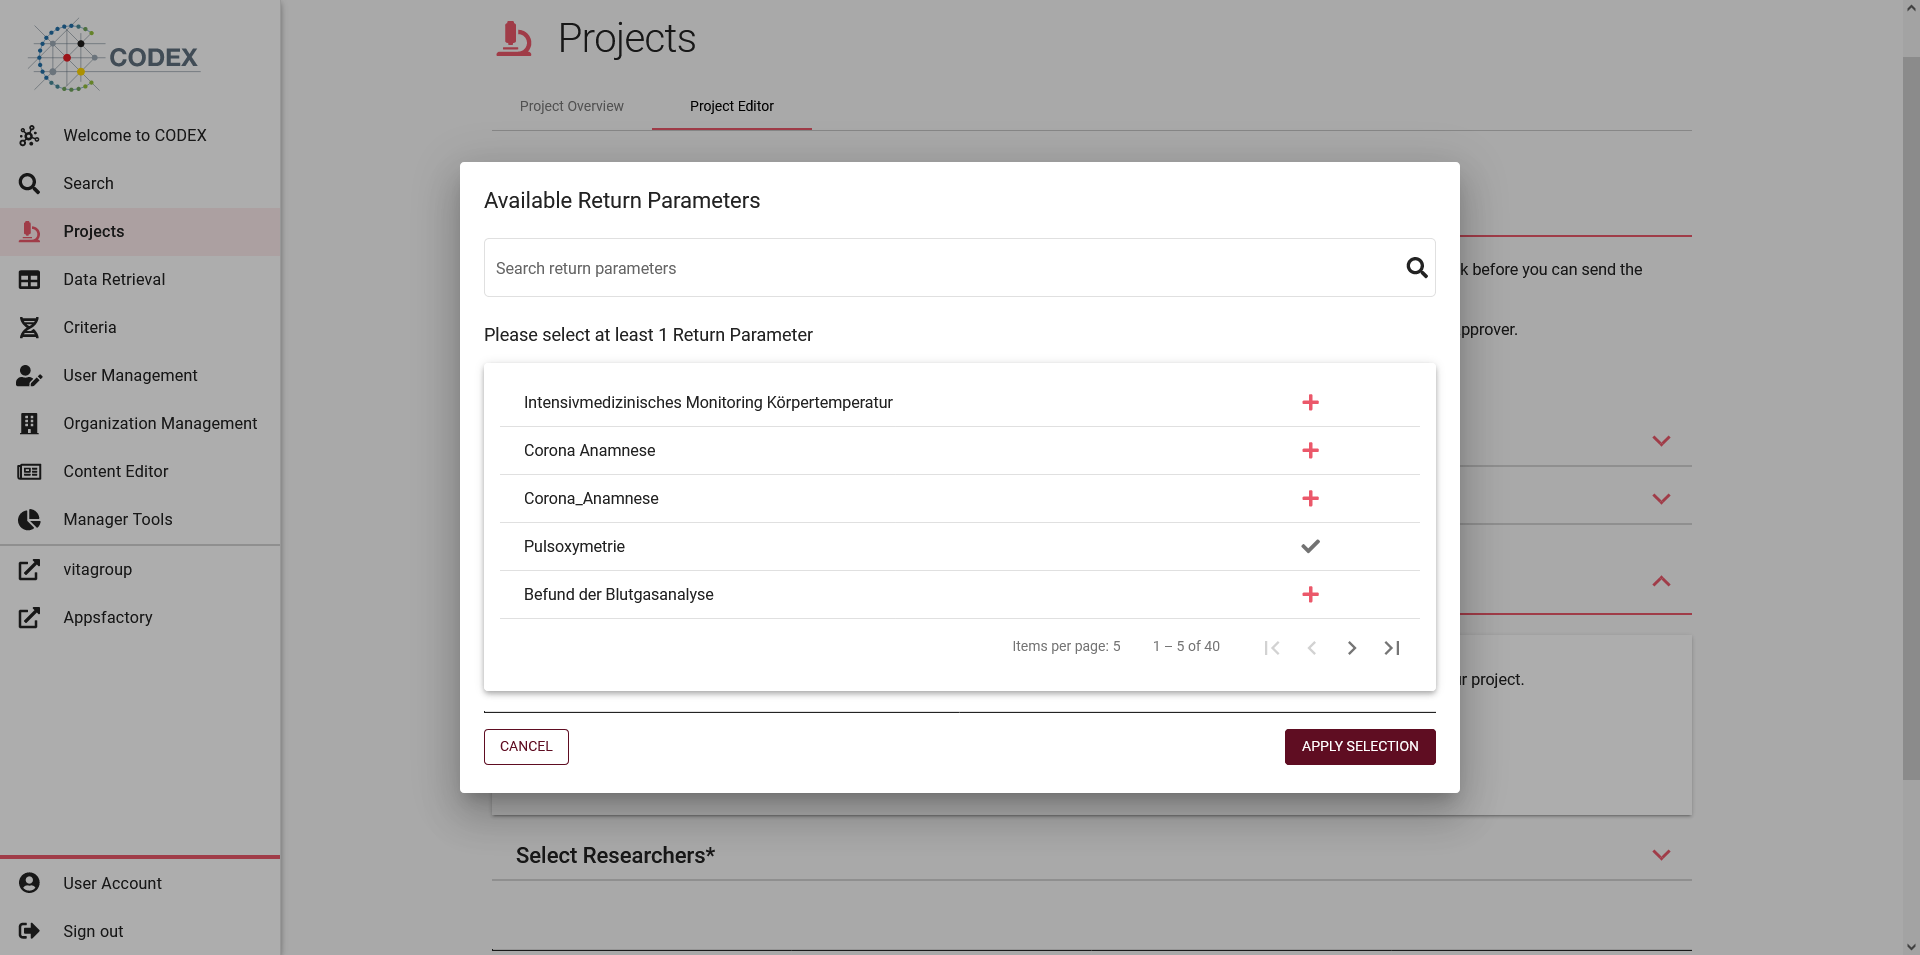
Fig 04-02-06: Project return prameters dialog
After the parameters are selected, patients in the data set within the defined cohorts can be calculated individually per parameter.
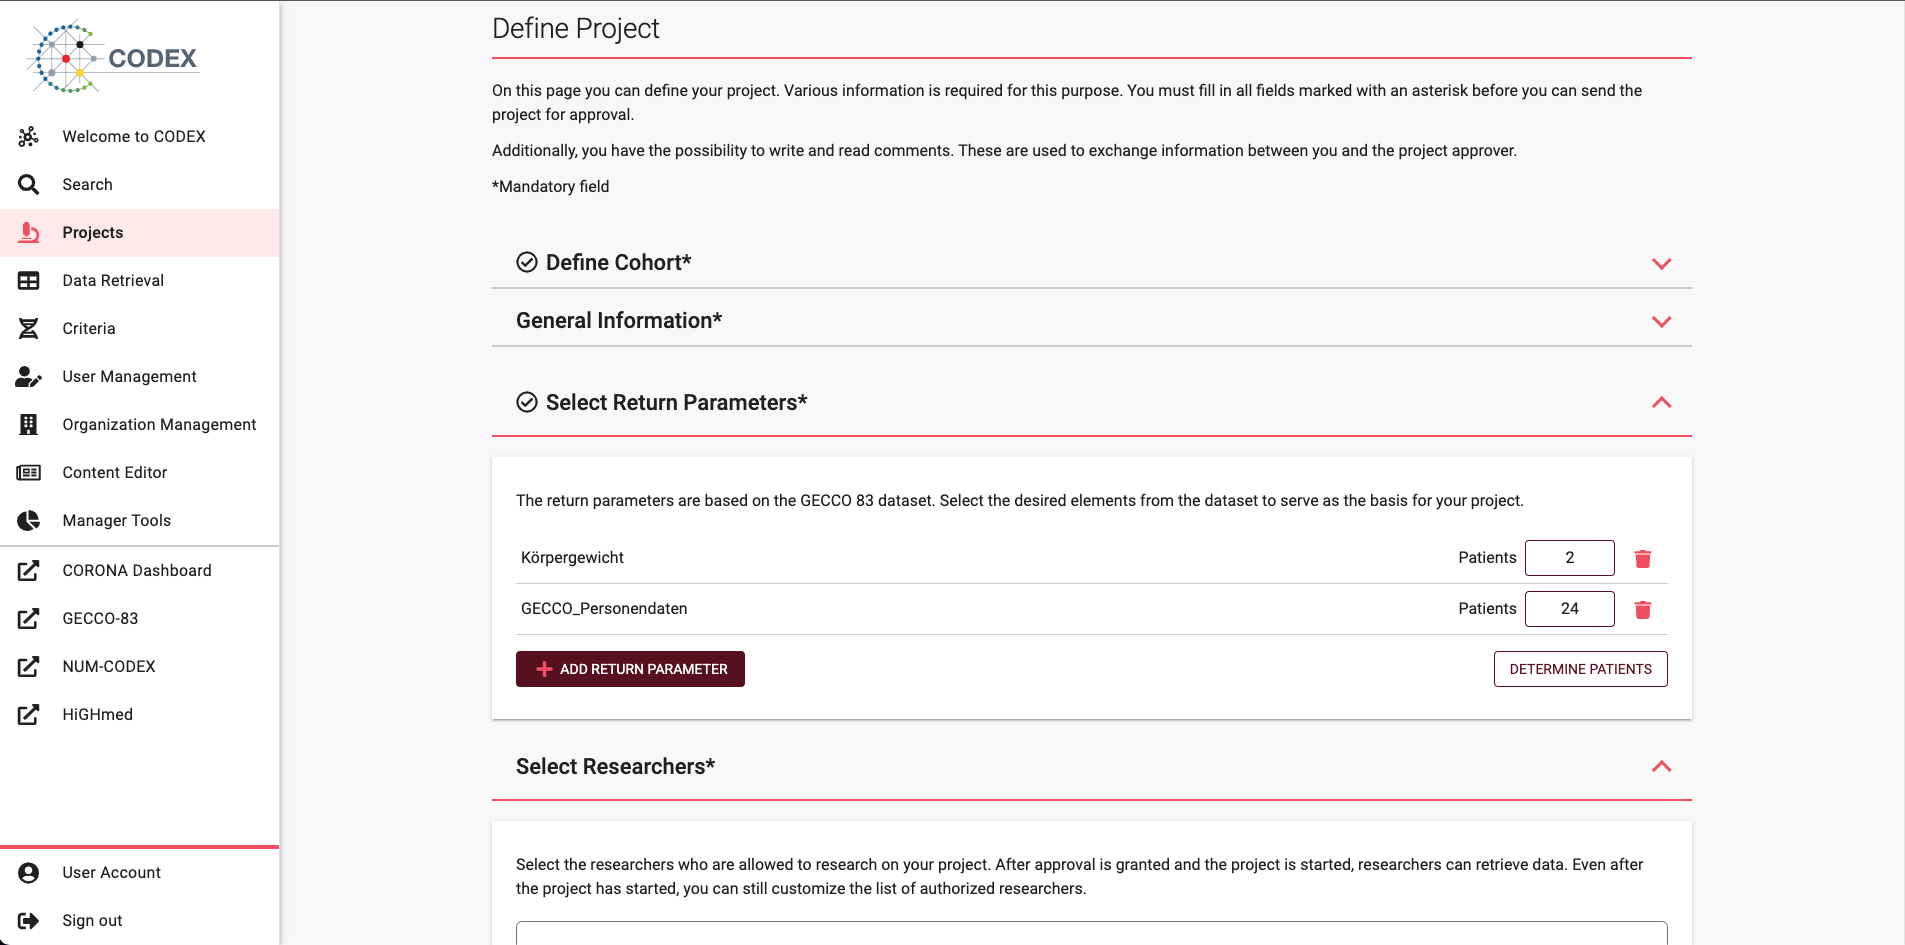
Fig 04-02-07: Patients per parameter
Important
Return parameters are mandatory, in order to save this project you must select at least one parameter.
Researchers
Select the researchers who are allowed to research on your project by clicking the Add researchers button. After approval is granted and the project is started, researchers can retrieve data. Even after the project has started, you can still customize the list of authorized researchers.

Fig 04-02-08: Project researchers
A dialog window will then open in which you can make your selection. To do this, click on the respective plus symbol. As soon as a researcher is selected, the symbol changes to a tick. If you click the tick again, the symbol changes back to a plus and the researcher is no longer selected.
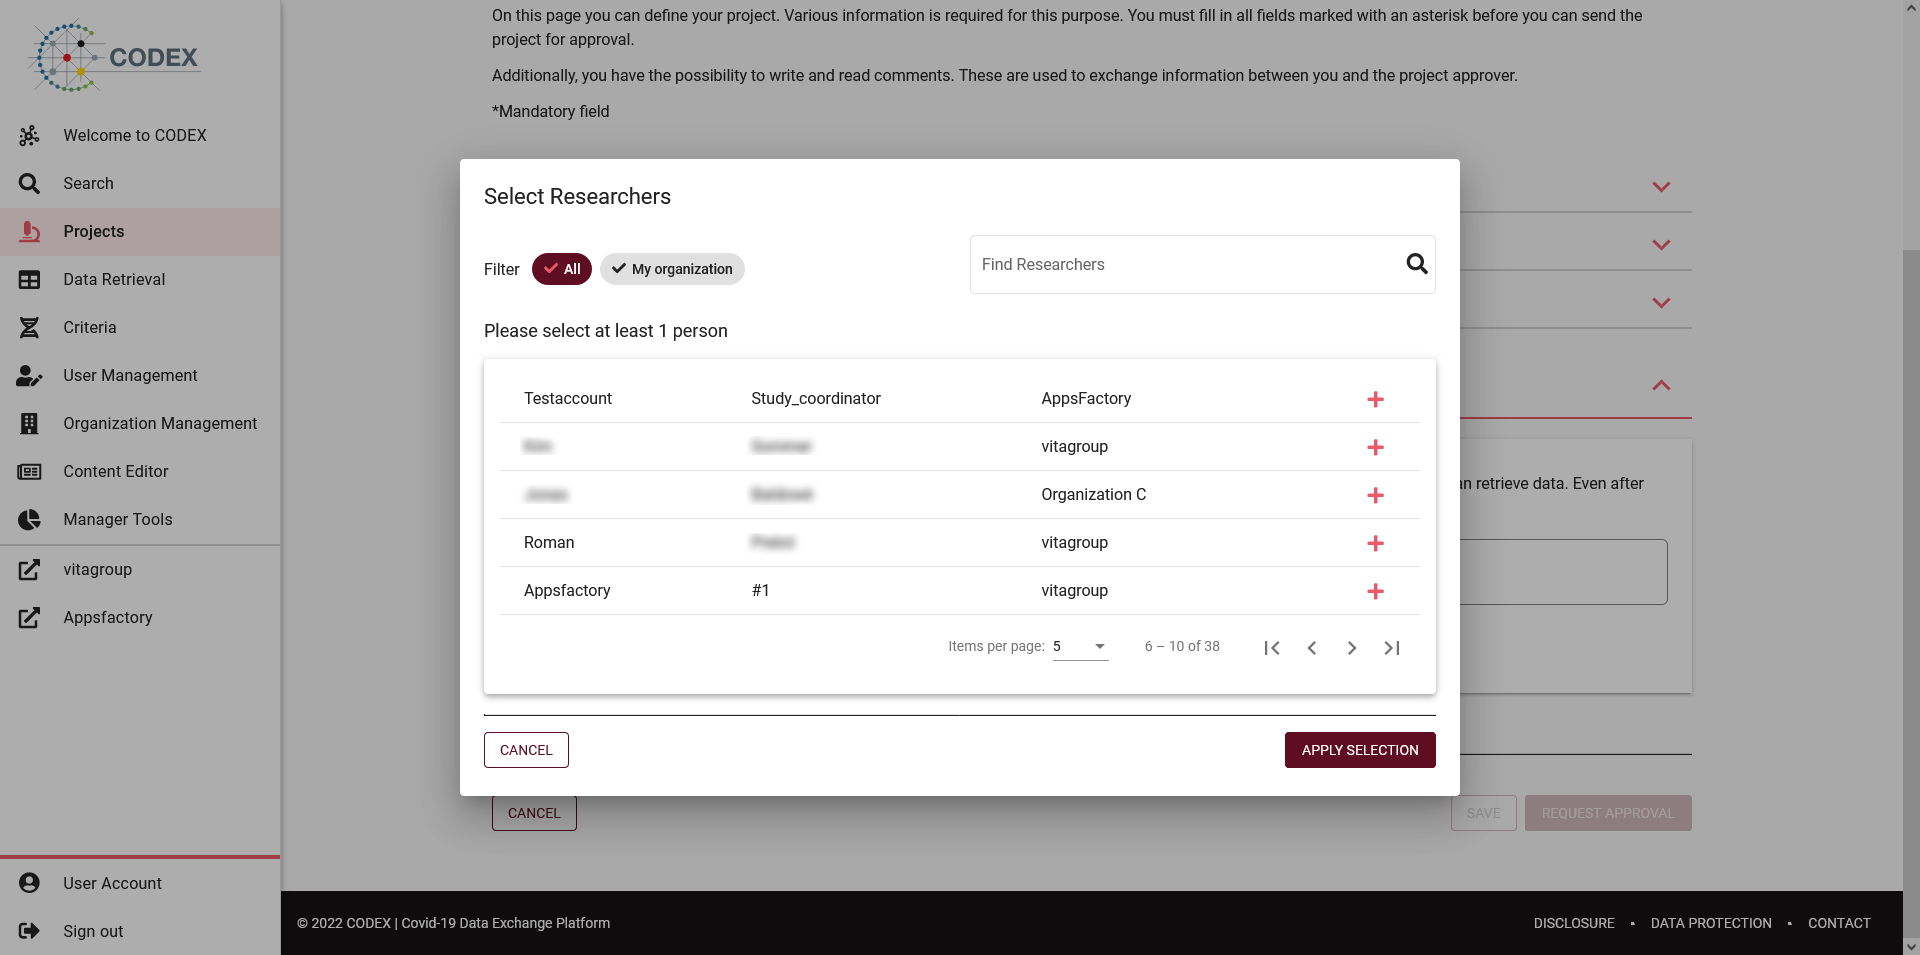
Fig 04-02-09: Project researchers dialog
Important
Researchers are mandatory, in order to save this project you must select at least one researcher.